2016.08.17 UPHow To
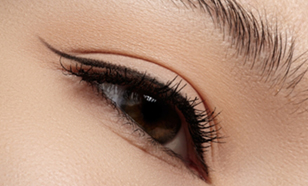
For a Natural Look, Good Basics Is the Key: A Detailed How-to for Using False Eyelashes. A Must-See for Beginners!【英語版:つけまつげの詳しい付け方】

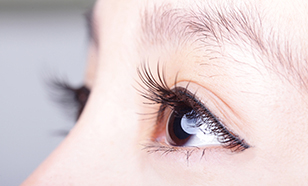
I know false eyelashes can make your eyes look bigger, but how can I make it look natural?
I tried using false lashes once, but it didn’t go so well…
I’d like to try them, but aren’t false lashes tricky to use?
…when it comes to false lashes, these thoughts may have previously crossed your mind.
For this post, we’ll dive into a thorough explanation so that using false lashes will be a breeze – even for beginners!
1. You’ll Need to Prepare…
1. For a guide to picking the right style for you, take a look at our previouspost!
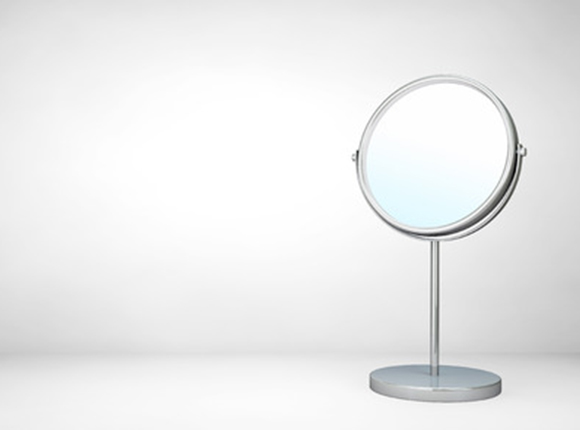
1. A free-standing mirror is ideal, leaving both your hands free
2. Better yet, an adjustable mirror angled towards your face will help make the process easier!
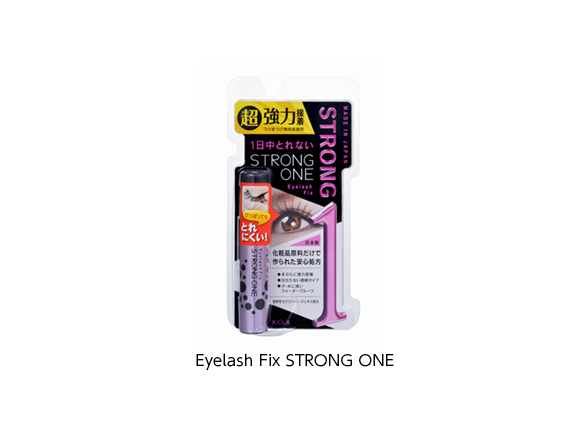
1. Your false lashes may already come with a tube…in which case you’re set!
2. You can also buy glue in a tube that comes with a brush, which we definitely suggest for beginners. Otherwise, you can always get extra tubes of eyelash glue, too.
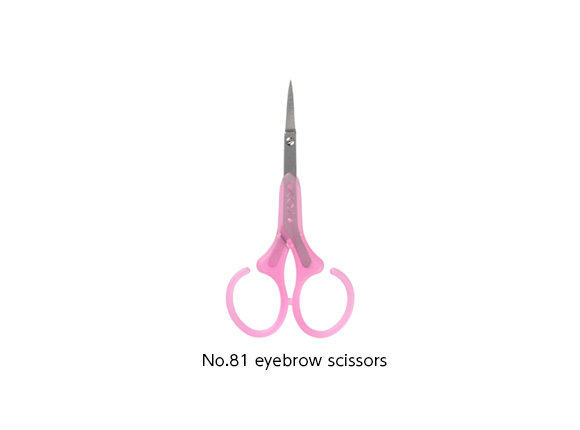
1. This is for customizing the width of your false lashes!
1. For blending your natural lashes with your false lashes when going for a more natural look
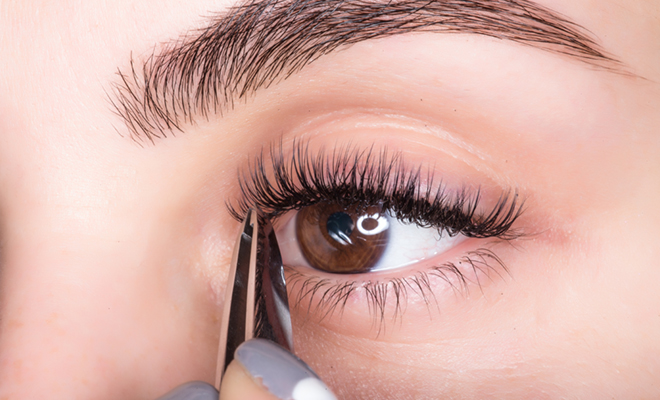
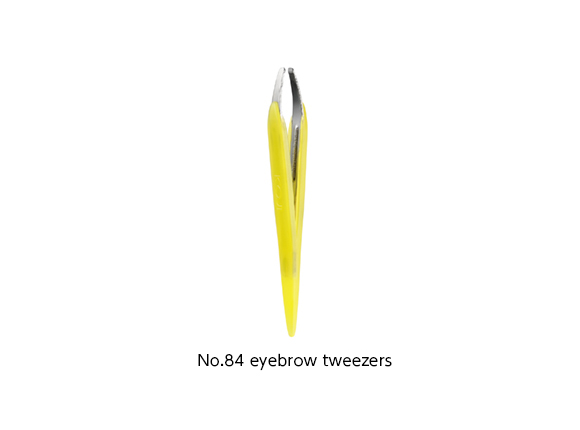
1. You can always use your fingers, but we like to handle false lashes with craft tweezers – especially for false bottom lashes that can be particularly delicate and tricky to handle. Craft tweezers have a more rounded edge than cosmetic tweezers!
2. If you want to use cosmetic tweezers instead, we recommend using tweezers with a flat head (instead of an angled one).
1. Just a bit of makeup can go a long way in making your look seamless.
2. To help blend false lashes into your look you might want to use:
1.Mascara
2.Eye shadow
3.Pencil eyeliner
4.Liquid eyeliner
2. Before You Put On Your Lashes…
• Make sure your eye makeup is done before you apply your false lashes! Putting the falsies on last is a major key!
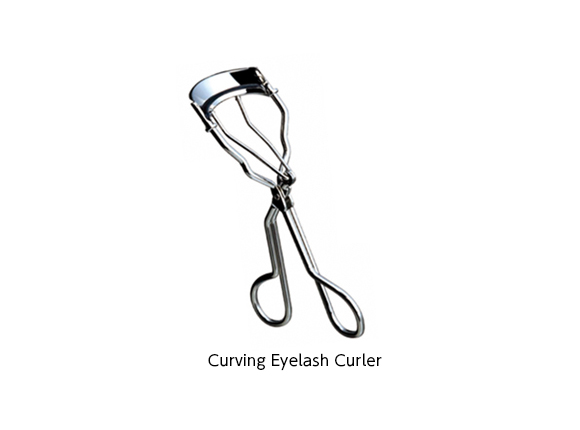
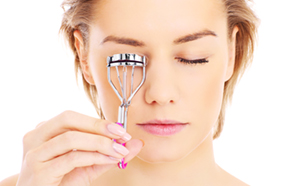
• Lightly curl your natural lashes with a curler. Because false lashes already have a curl to them, this helps blend the two naturally. However take note: if your curl your natural lashes too much, it can be difficult to apply the false lashes! So lightly is the keyword here.
• At this point, also apply mascara. If your natural lashes tend to droop, we recommend using a formula that keeps a curl.
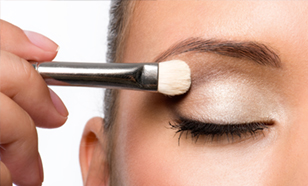
• Apply your eyeshadow and other eye makeup as your normally would.
• Because false eyelashes are applied on the lash line, wearing eyeliner will help blend the base of the false lashes, giving a more natural look. We recommend using pencil eyeliner since it can be smudged and blended!
3. Applying False Lashes
Finally, the good part! Instead of using only your dominant hand when putting on the lashes, try to use your right hand for your right eye, and your left hand for your left eye. Make sure to start with your non-dominant hand—that way, when applying the other eye, you can use the accuracy of your dominant hand to match the position and angle of the false lashes on your non-dominant side! This is crucial to achieving a natural, balanced look! We definitely recommend practicing it, and making it a habit.
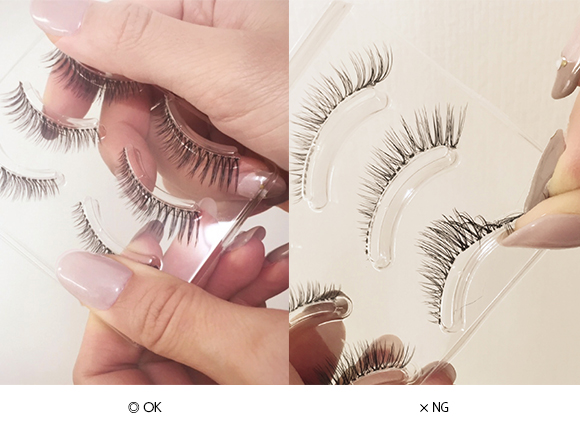
False eyelashes are very delicate! Rough handling can cause it to fall apart, so a delicate touch goes a long way. The lashes are normally attached to the case with an adhesive. To remove them, use the belly of your thumb, pushing down lightly. If that doesn’t work, try using craft tweezers, removing the lashes starting on the ends. Be careful-handling a bunch of the lashes can cause it to fall apart.
Before applying the lashes for real, place the false lashes on your eye for a test run. This is another major key! Using the adhesive already on the lashes (that was holding them to the case), you can simulate putting them on, seeing if the sizing is right for you.
This is where a free-standing adjustable mirror really comes in handy. While looking down so that you can see your eyeliner, adjust the position of your false lashes so that the outer edge of the falsies line up with the outer corner of your eye. If your false lashes start too close to the inner corner of your eye, it can look a bit flashy and unnatural, and it can be easier for the falsies to fall off. Instead, aim for the false lashes to start a little more towards the center of your eye, at the edge of your iris.
At this point, take a good look at your eye to see if you think the falsies might be too wide, if they ought to be angled higher, etc. so you can make the proper adjustments to achieve your ideal look.
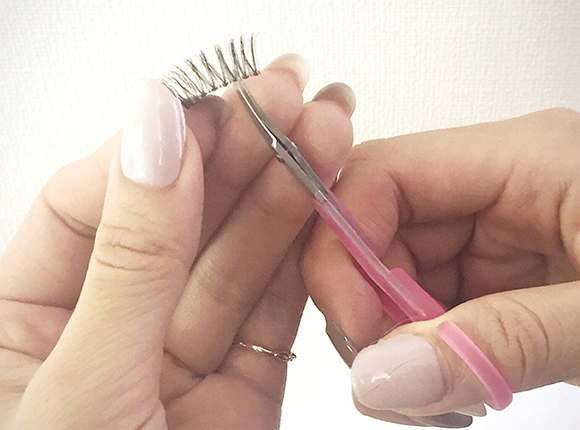
If your false lashes are too wide, trim them using eyebrow scissors. Adjust the width of your lashes by cutting very tiny increments starting on the outer edge. However, if you want to maintain the design of the outer edges of the falsies, start trimming from the inner edge. Because the inner edge of the false lashes has a lighter, more delicate design, trimming it will leave you with falsies that will give you a more glamorous look.
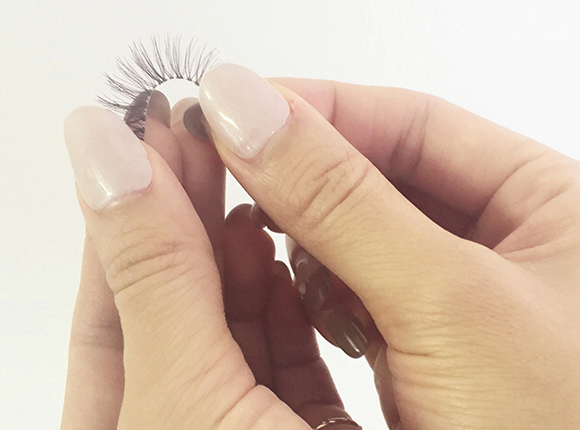
Holding both edges of the false lash’s base, bend and stretch it about ten times. Brand new lashes have a particularly stiff, springy base. If you try to apply them straight from the box, the stiffness of the lashes will make it harder to mold the lashes to your eye’s shape. Softening the lashes by pushing and pulling them (almost like you’re rubbing the sides of your thumbs together) helps a lot in customizing the fit.
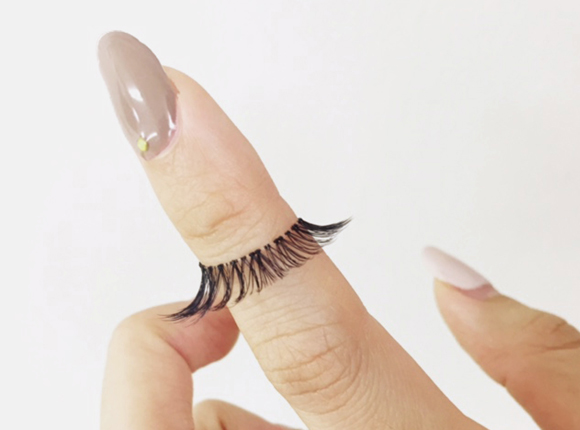
Once you finish softening the base, wrap the falsie around your finger, giving it a soft & beautiful curve. This one step can increase comfort and help each wear last longer!
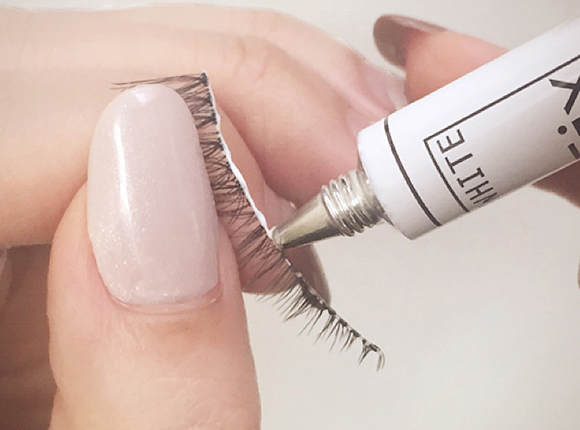
Next, apply the eyelash glue to your false lashes. You can use glue that comes straight from the tube, or with an applicator brush. If you have shaky hands, we recommend getting adhesive that comes with a brush for an easier, more uniform application.
If you’re using eyelash glue straight from the tube, use the back of your hand or a tissue to test the flow.
Starting with a tiny bead of glue coming out the tube (about 1 mm small), apply the glue to the base of the false lashes as if making a dotted line. This will help you make a uniform and thin like of glue along the base of the lashes.
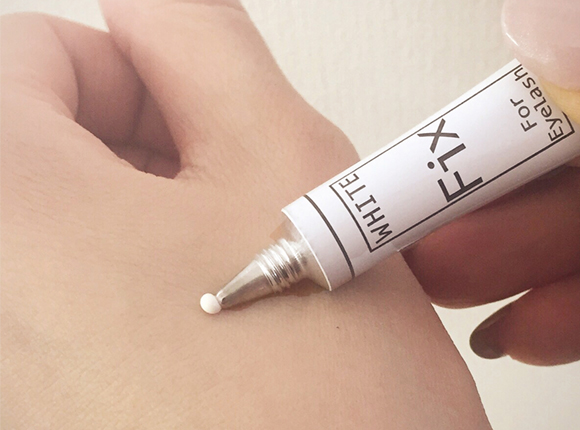
The amount of glue should be so that it just barely covers the base.
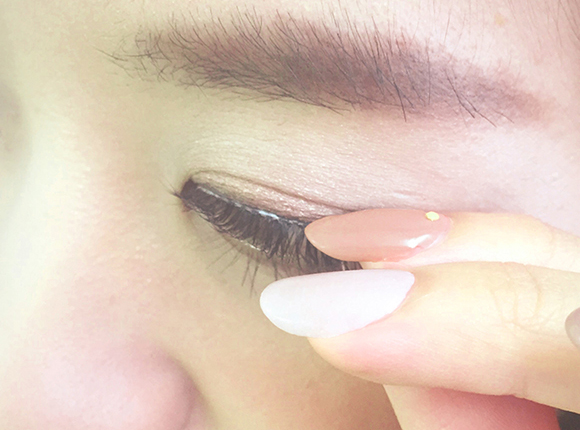
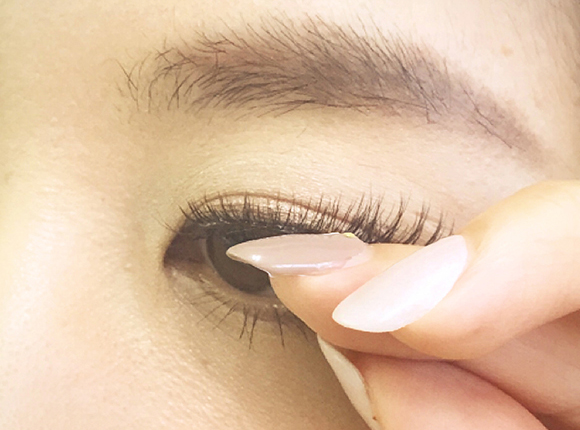
First, place the false lashes on the center of your eye, the base of your natural lashes or the eyeline which you have already drawn applying some pressure to ensure it stays. Next, fix your inner corner, and then your outer corner. Once the false lashes have been placed on your eye, grab both your natural lashes and your false lashes together, and push upwards to ensure it is in place.
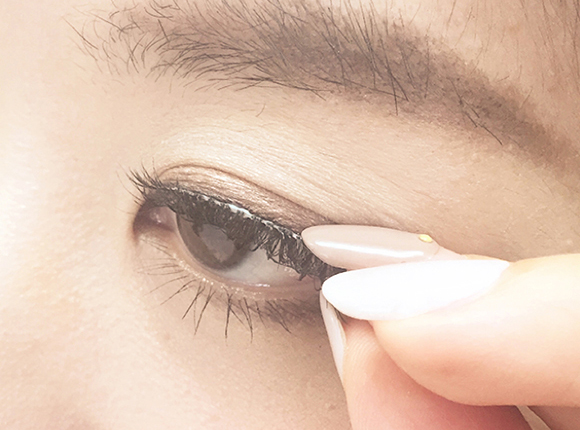
Once you are happy with the placement of your false lashes, check to make sure the angle is right. To make your eyes look bigger, push the lashes up to give it a lift. For a more natural look, push down on your false lashes to angle it downward.
Once you have on your false lashes, you might notices a gap between the falsies and your natural lashes, you might be not quite satisfied with how the base looks, or maybe the inner corner is not properly attached, etc. For most of these issues, simply applying liquid eyeliner can fix the problem!
4. Mastering the basics correctly is the key for achieving a natural look with false eyelashes!
Next time you’re looking to bring some attention to your eyes, give false lashes a try ☺
For a guide on choosing the correct false lashes for you, see our recent post!
この記事が参考になったら
ツイートしてね!
関連記事

人気記事TOP10
-
1
アイシャドウの塗り方1から教えます!パレット使いから色選びのコツを知って、もっとアイメイク上手に♡
How To
-
2
アイテープの基本講座♡二重になれる!使い方のコツからバレないテクまで一挙公開
トレンド
-
3
【チークの入れ方徹底攻略!!】丸顔さんも面長さんも今よりかわいく♡
How To
-
4
つけまつげの1番詳しい付け方、ナチュラル仕上げはキホンが大事! 初心者必見◎
How To
-
5

ハイライトの入れ方&使い方の基本!美肌も小顔も叶うメイクテク
How To
-
6
アイラインの引き方講座!①リキッド・ペンシル使いこなしテク!
How To
-
7
【ビューラーの使い方】やり方のコツ&ゴムの替え時まで、まつげの老舗が全部教えます!
How To
-
8
爪の縦線ケアで素爪を美しく!爪の筋やでこぼこの原因と簡単セルフネイルケア方法
その他
-
9

現役美容整形外科医に学ぶ!奥二重とは?二重との違いって?奥二重さんのお悩みからメイクまで全て解決しちゃいます★
トレンド
-
10
2024年!ハロウィンメイクのかわいくて簡単なやり方【決定版】
How To

人気記事トップ10
-
1
アイシャドウの塗り方1から教えます!パレット使いから色選びのコツを知って…
-
2
アイテープの基本講座♡二重になれる!使い方のコツからバレないテクまで一挙公開
-
3
【チークの入れ方徹底攻略!!】丸顔さんも面長さんも今よりかわいく♡
-
4
つけまつげの1番詳しい付け方、ナチュラル仕上げはキホンが大事! 初心者必…
-
5
ハイライトの入れ方&使い方の基本!美肌も小顔も叶うメイクテク
-
6
アイラインの引き方講座!①リキッド・ペンシル使いこなしテク!
-
7
【ビューラーの使い方】やり方のコツ&ゴムの替え時まで、まつげの老舗が全部…
-
8
爪の縦線ケアで素爪を美しく!爪の筋やでこぼこの原因と簡単セルフネイルケア…
-
9
現役美容整形外科医に学ぶ!奥二重とは?二重との違いって?奥二重さんのお悩…
-
10
2024年!ハロウィンメイクのかわいくて簡単なやり方【決定版】

最新記事


キーワード